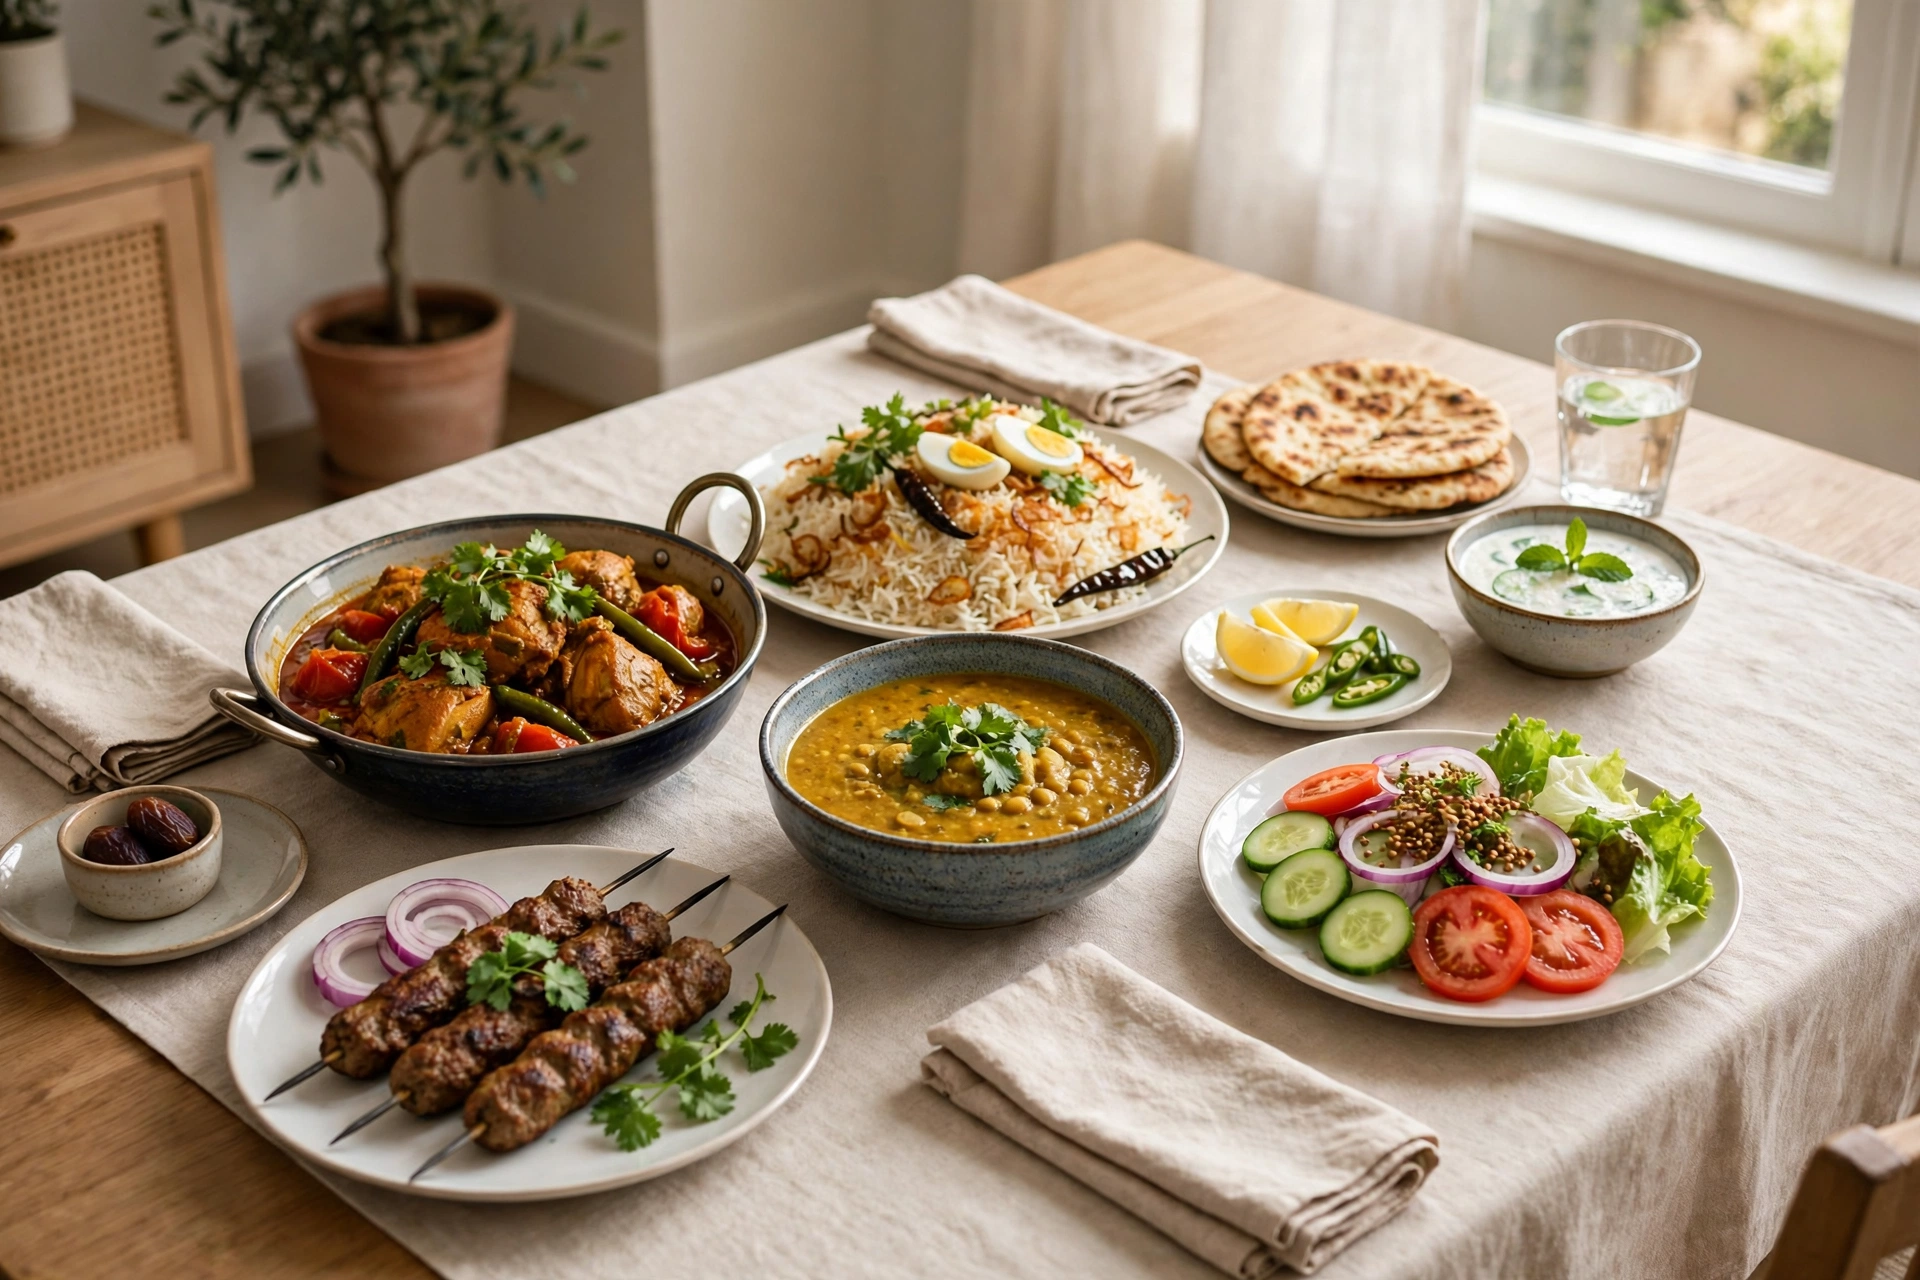

Karahi is one of Pakistan’s most loved dishes. It is cooked in a karahi, a deep, round, wok-like pan, and it is known for its rich, tomato-based gravy, tender meat, and the fresh ginger and green chillies on top.
Making karahi at home can feel intimidating, especially if you have only eaten it at a restaurant or a dhaba, a roadside eatery. This post breaks it down step by step, from heating the pan to serving the table, so you can make a confident, flavourful chicken karahi at home.
What you need before you start
The karahi pan
A karahi pan is ideal, because its curved sides help the gravy reduce and the meat cook evenly. If you do not have one, a deep, heavy wok or a large, deep frying pan will work, but try to use a pan that holds heat well.
The ingredients
For a basic chicken karahi, you need chicken pieces, tomatoes, ginger, garlic, green chillies, oil or ghee, and a simple masala, a spice mix, usually including salt, red chilli, turmeric, cumin and coriander. Fresh coriander leaves, for garnish, and lemon wedges, for serving, complete the dish.
Keep the ingredients ready before you start cooking. Karahi cooking moves quickly once the pan is hot, and having everything chopped and measured makes the process much smoother.
Step by step: chicken karahi at home
Step 1: Heat the karahi well
Place the karahi on medium-high heat and let it get properly hot before adding oil. A well-heated pan helps the chicken sear, rather than steam, and it gives the karahi its characteristic depth of flavour.
Add oil or ghee, and let it heat until it shimmers. Do not rush this step. A pan that is not hot enough will make the chicken release water, and the gravy will take longer to thicken.
Step 2: Sear the chicken
Add the chicken pieces to the hot pan, in a single layer if possible, and let them sear. Stir occasionally, so all sides get colour, but do not stir constantly. The chicken should start to turn golden at the edges.
This searing step builds flavour. It is not about cooking the chicken through yet. It is about creating a base for the gravy.
Step 3: Add ginger, garlic and tomatoes
Add grated or crushed ginger and garlic, and stir for a minute until fragrant. Then add chopped tomatoes, and stir well. The tomatoes will release water and start to break down.
Cover the pan briefly, so the tomatoes soften, then uncover and stir. You want the tomatoes to cook down into a thick, rich base, not a watery sauce. This can take 10 to 15 minutes, depending on the tomatoes and the heat.
Step 4: Add the masala and let it bhunna
Add salt, red chilli, turmeric, cumin and coriander, and stir well. Now let the masala bhunna, a cooking technique where spices are fried in oil until the oil separates and the raw spice taste disappears. This step is essential for a good karahi.
You will know the masala is ready when the oil starts to separate at the edges, and the mixture smells rich and cooked, not raw. Do not rush bhunna. It is what gives karahi its depth.
Step 5: Cook until tender
Once the masala is cooked, reduce the heat slightly, cover the pan, and let the chicken cook through until tender. Stir occasionally, and check that the gravy is thickening, not drying out. If needed, add a splash of water, but keep the gravy thick.
The chicken is ready when it is tender, the gravy coats the pieces, and the oil has separated slightly. Taste and adjust salt and chilli to your preference.
Step 6: Finish with ginger, chillies and coriander
Just before serving, add julienned ginger, sliced green chillies, and fresh coriander leaves on top. Do not stir them in fully. Let them sit on top, so they stay fresh and bright, and so the dish looks inviting.
A squeeze of lemon, added at the table, can lift the flavours, especially if the karahi is rich.
Serving karahi at home
Karahi is best served straight from the pan, at the table, with warm bread and simple sides. Naan, roti, or chapati all work well, because they are perfect for scooping up gravy.
Serve rice as well, if you like, especially for a larger group. A simple salad, such as sliced onion, tomato and cucumber with lemon and salt, adds freshness and balances the richness of the karahi.
Keep the table simple. Karahi is a generous, communal dish, and it does not need elaborate sides. Bread, rice, salad, and the karahi itself are enough.
Masala tips for a better karahi
Use fresh ginger and garlic
Fresh ginger and garlic make a noticeable difference in karahi. If you can, grate them fresh, rather than using a paste that has been in the fridge for a long time.
Do not skip the bhunna step
Bhunna, frying the masala until the oil separates, is what separates a good karahi from a bland one. Be patient, keep the heat medium, and stir so the masala does not burn.
Adjust chilli to your family
Karahi can be mild or spicy, depending on your family’s taste. Start with less chilli, taste, and add more if needed. Green chillies on top add heat without making the whole gravy too spicy for children.
Let the gravy thicken
A good karahi gravy is thick and coats the chicken, not watery. If your gravy is thin, cook it uncovered for a few more minutes, stirring, until it thickens.
Common mistakes to avoid
Do not add too much water at the start. Tomatoes release a lot of water, and extra water makes the gravy thin and the cooking time longer.
Do not cook on very low heat throughout. Karahi needs good heat to sear, to cook the tomatoes down, and to bhunna the masala properly.
Do not forget to taste. Salt, chilli and lemon all need adjusting at the end, because tomatoes and chicken vary.
Learning karahi in a class
If you want to learn karahi with hands-on guidance, including how to judge heat, how to bhunna masala, and how to serve a full meal, ARONISA’s Everyday Cooking Course teaches these skills step by step. It is a practical way to build confidence for everyday Pakistani cooking.
For a wider range of home cooking skills, explore the ARONISA cooking and baking classes.
FAQs
Do I need a karahi pan to make karahi?
A karahi pan is ideal, but a deep, heavy wok or frying pan will work. Use a pan that holds heat well and has enough depth for the gravy.
Why is my karahi gravy watery?
Usually because too much water was added, or the tomatoes were not cooked down enough. Cook uncovered, stirring, until the gravy thickens and the oil separates slightly.
How do I know when the masala is cooked?
When the oil separates at the edges, the mixture smells rich and cooked, not raw, and the colour deepens. This is the bhunna stage, and it should not be rushed.
What should I serve with karahi?
Warm naan or roti, rice if you like, and a simple salad of onion, tomato and cucumber with lemon. Keep sides simple, so the karahi stays the star.
Make karahi at home this week
This week, try karahi at home, step by step: heat the pan well, sear the chicken, cook the tomatoes down, bhunna the masala, and finish with fresh ginger, chillies and coriander. Serve it hot, with bread and salad, and enjoy a dish that has brought Pakistani families together for generations. To learn it hands-on, explore the Everyday Cooking Course.